Love tapped.

"In this Special Series written in collaboration with René at CarboProject.de, I document the 1:1 CSL carbon diffuser. I also looped this into my Restoration entries.
I cover the entire ideation, development, master & negative mold production process along with my unboxing impressions, DIY fitment and professional fitment.
This entry uncovers the uncomfortable truth: these E46s are old and have history you might not be aware of."
-Matt
I thought I knew.
In my original unboxing impressions, I stated I was getting into this knowing I was getting a respray and professionals would get this fitting and looking perfect.
As my E46 has a clean title per the CarFax, I expected the slight paint and fitment concerns to be derived from the poor respray by the previous owner.
The diffuser's color was like the original PY. The body is a darker shade of PY, and with poor reflected image quality due to a lack of finishing during the previous respray.
The paint match was off.
The upper tab fitment was off.
In the DIY fitment entry, I had an issue with the upper tab 2nd from the left.
I sanded down the tab and it clipped in properly.
It was a problem for the complete fitment.
BMW M designed the diffuser for the upper tabs to fit in snug and tight. The bottom corner holes are slotted for adjustability.
If it isn't tight up top, it'll be loose at the bottom.

I wasn't wrong, but I wasn't right.
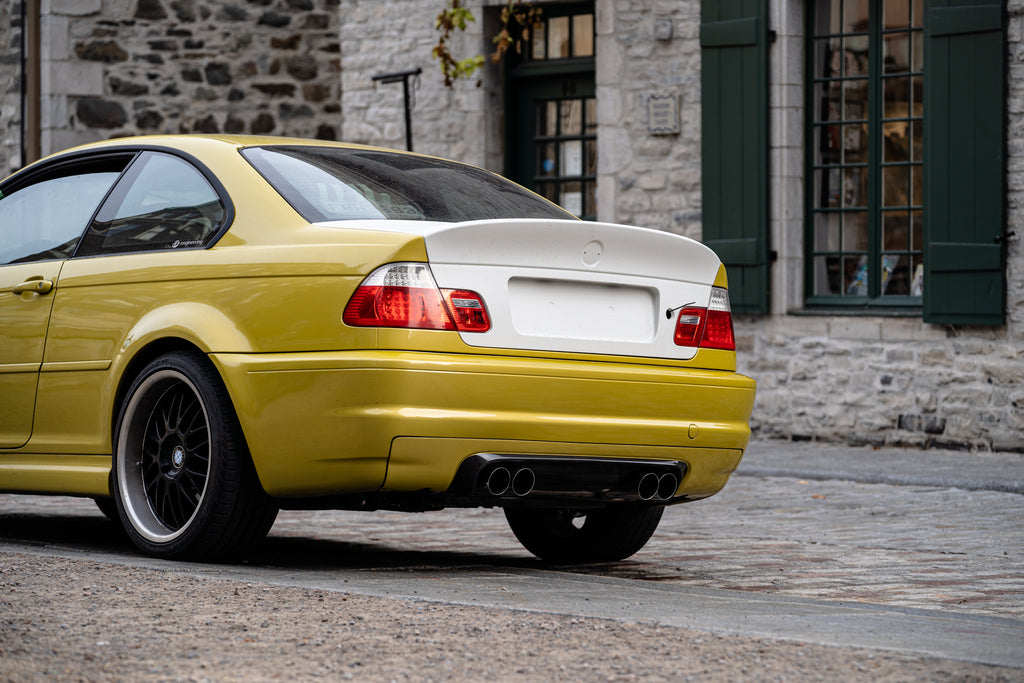
The rear bumper was taken off as a part of my complete restoration and color change.
It's indeed the original bumper.

An uncomfortable truth.
These cars are 20 years old and were inexpensive for a while. Many haven't always been cared for as we do today.
A considerable number of E46 M3s have been in accidents, resprayed, love tapped and played with.
My car got love tapped.
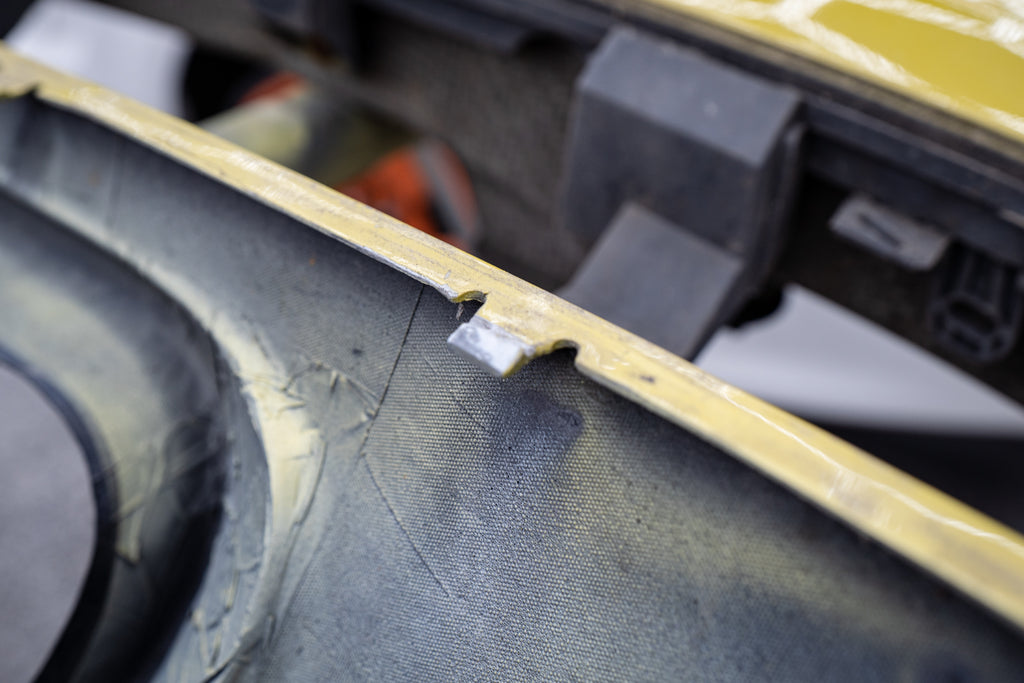
By sanding down the rear bumper's paint, we isolated where the rear bumper got hit.
The grey primer areas show where this rear bumper got hit - a few times.

A broken back.
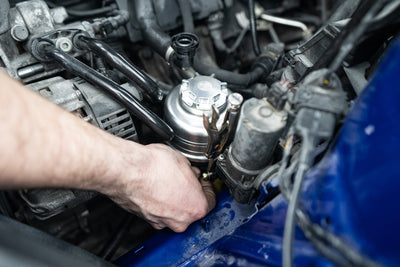
The brackets of the diffuser are integrated into the bumper and are epoxied to the kevlar rear bumper carrier.
When fitting the diffuser, you push the upper sections against the carrier via the brackets. If they aren't properly installed, you aren't going in straight.
Many brackets were unglued.

One had flat out lost touch with reality.

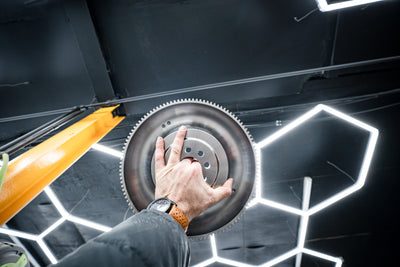
Repaired brackets.
We had to reapply epoxy to all broken brackets and pre-emptively did it to other brackets that were unaffected.
New bolts may be needed, I can't unsee them.

No 2 cars are the same 20 years on.
The E46 is an old car with shoddy build quality in comparaison to modern standards. Yet even to this day, BMW M has body guys on the production line measure and adjust gaps across the car before it rolls out.
Panel gaps on a diffuser are a game of millimetres across various brackets and adjustable slotted holes.
Leave it up to professionals if you want perfection.

Up next: we finish the restoration and color change before we revisit this one last time.


Leave a comment