The V8 driveshaft procedures.

"These build journal entries are part of a Special Series on the E9x M3 V2 carbon fiber driveshaft.
I cover the bizarre backstory to uncovering the manufacturer of the renowned and authentic V2 product, its comparison with the counterfeit unit along with my installations tips and driving impressions.
In this entry, I cover the preliminary checks and installation of the V2 carbon fiber driveshaft, share tips along with mandatory validation steps for your installation."
- Matt
Preliminary checks.
Worn bushings and mounts.
The entire driveline is influenced by the condition and specs of engine mounts, transmission mounts, flexdisc, differential bushings and subframe bushings.
If your bushings and mounts are worn - I highly recommend you change them. 6spd guys should be mindful of wheel hop on hard launches. Engine mounts notoriously wear rapidly on M3 V8s, often as quickly as 30,000 miles / 50,000 km.

Aftermarket bushings and mounts.
Be mindful of aftermarket mounts, bushings and flexdiscs that you may use, they need to retain OEM specifications.
If your driveline is out of spec, the carbon driveshaft can bring out vibrations in the driveline that were not noticeable with the original 2 piece driveshaft and center support bearing.
I previously fitted solid subframe bushings, PurpleFlex poly diff bushings along with a myriad of stiffened suspension arm bushings. Engine and transmission mounts were kept stock to avoid excessive NVH.

Pick the right balancing bolts.
Your OEM driveshaft is carefully balanced at the factory and has a few versions. BMW uses a colored line on the driveshaft flange to indicate the balancing method used and the specific balancing bolt hole.
No need to take the diff out to find it. Mine just happened to be out for reconditioning.

The colored marking.
Prior to September 2009 production date, the balancing was using washers on the marked hole. After 09/09, colored balancing bolts are used. My 2012 M3 uses the original diff from the factory.
- The blue marking indicates the black bolt (SKU: 26112284154)
- The yellow marketing indicates the green bolt (SKU: 26112284153)
- If your differential has white marking, then you're in luck: regular bolt it is.
My diff had a blue line: It required the Black balanced bolt.

Installation Steps.
Get to the driveshaft.
You need to remove the center exhaust bracket, disconnect 02 sensors off the exhaust and remove the entire exhaust systems. The OEM steel driveshaft and center support bearing can then be removed.

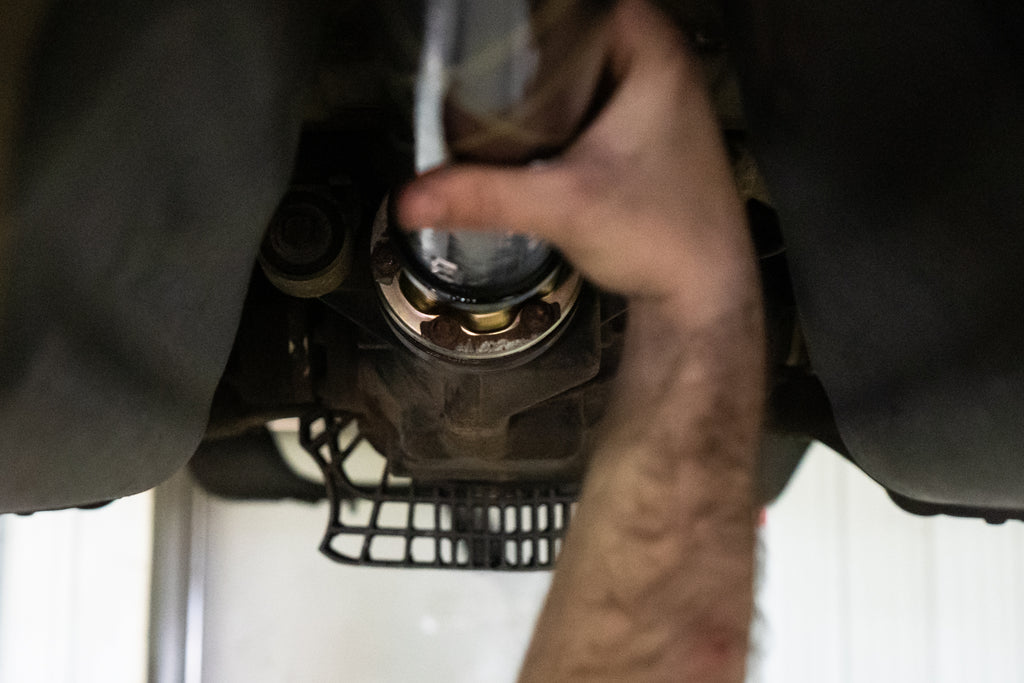
Fitting the driveshaft.
In my initial 2021 installation, we needed to lift the transmission all the way up with the engine supported. We also loosened the differential bushings and pried off them to get the YFCM to fit.
Update 2023.
there's a faster, easier way to do it by unbolted the front differential bolts and letting it hang to fit the driveshaft into the flange, and raising it up as an assembly. You can see the technique here that we used on the V10 M5.

Torque specs.
Here are the torque specs as provided by BMW's TIS.
- Guibo: 55 NM (41 ft lb) plus 90 degrees
- TIS dictates to replace bolt SKU 26117527475 and locking nuts, SKU 26127536563
- Differential bolts: 40 NM (30 ft lb) plus 45 degrees
- TIS dictates to replace bolts SKU 26117526322
To gain access and torque the bolts at the differential, and the transmission flanges, put the car in Neutral. You can then rotate driveshaft by hand.

Mandatory Validation Steps.
The 1 piece carbon driveshaft design eliminates the center support bearing and as such removes a dampening zone of the driveline. You need to meet these clearances before completing the installation as it may otherwise lead to vibrations and catastrophic failure of the driveshaft if left unresolved.
1. Balancing bolts in the right spot.
You need to match the differential colored marking with the balancing bolt on the CV's flange. The balanced CV / diff bolt colored in black with the blue mark on my diff.

2. Telescopic Flange Measurements
The CV flange is telescopic, it is designed to allow movement in the driveline during operation. YFCM carefully engineered the tube length to match with the CV flange. It must have a 64mm / 2.52 inches distance between both points pictured.

If you installation does not come within the specifications listed below, contact me immediately and avoid driving the ca. For an accurate measurement, have the driveline under the load and on the ground if you changed any bushings.
Here's how we took the measurement. The car was still on the lift and explains the shorter measurement.

3. Carbon Tube Clearances
Carbon tubes are larger than steel driveshafts and more susceptible to make contact with heat shields. Careful attention to clearances and free range of movement of the tube must be validated.
There are 2x bolts and 1x screw by the CV flange that are to watch for along with the fuel lines. There should be at least 20mm / 0.8 inches separating the tube from any physical element across the driveshaft valley.


3. Refit OEM heat shields.
The OEM heat shields are fully compatible with the driveshaft's increased diameter. They are a mandatory component to your installation as they will protect the carbon tubing, and its adhesives from heat related problems.
They do not need to be bent to fit. If they don't appear to fit, they are deformed from their original design. The heat shields are flexible metal, they can be easily put back to their original shape.

Up next: I go on a few drives, and experience the hype.
Can you really feel it? I'm about to find out.
I will also share David's impressions on his 6spd testing.


