It's counterintuitive but it fits.

"These build journal entries are part of a Special Series on the development of the S85 CSL Style Carbon Plenum and S85 CSL Competition Complete Carbon Intake System and written in collaboration with Sal at Infinity Design.
In this entry, I cover the hardware requirements and the S85 CSL OE+ carbon plenum's counter-intuitive installation process."
- Matt
The included hardware & spares.
The CSL S85 plenum will come everything you need to complete the installation: bolts, gaskets, upper ITB clamps and spares bolts & gaskets.
Spare neoprene side inlet gaskets, lid & trumpet bolts. The production units will have spare bolts.

Upper ITB clamps.
My pre-production unit came without the Genuine BMW upper ITB band clamps (SKU: 11617835320). We expected to be able to re-use the OEM units.
As we removed the OE+ carbon plenums, they were mangled. We were wrong and ordered new clamps. The lower clamps and rubber bosses are re-used.
Upper clamps are missing and were not reusable.

You also have to transfer the OE side inlet rubber seals.

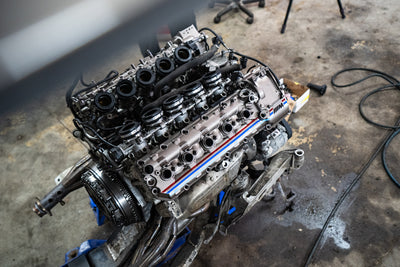
Disassemble to reassemble.
The CSL plenum is delivered partially assembled by Salman for packaging reasons. The trumpets and lid are bolted. The side inlets are packaged separately. Unbolt the lid and the trumpets on the driver side bank.
Be mindful not to scratch the clear coat when removing all the bolts: it can get intellectually boring.

Don't be anxious here. There is no glue. Everything is held by bolts, and sealed with gaskets.

Do not torque any bolts over 3.2 NM as you run the risk over stripping the threads.
Assemble the side inlets.
Surprisingly, this is arguably the trickiest part of the installation. You need to achieve a perfect seal to avoid air leaks, and scratches on the carbon.
The side inlets have small allen bolts that are threaded in tight spaces made from carbon.
Here's the trick: take your time, and bolt in progressively. In similar fashion to wheels, use a criss-cross pattern but 2 surface planes.
Do not thread in the bolts entirely at once. Do it in multiple passes.

Fit the ITB bosses to the passenger side bank. You can the upper clamps tight. Leave the lower clamps somewhat loose.

Notice we did the mistake of fitting the bosses to both side. I make mistakes so you don't :) Help yourself and grease the inner walls of the ITB bosses.

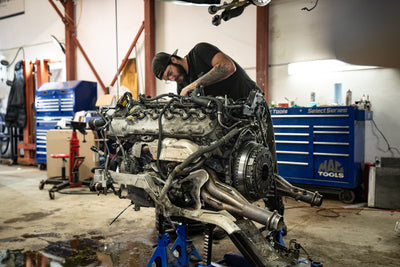
Onto the easy part*: the actual install.
At this stage, you have the CSL plenum partly assembled with both side inlets bolted in and double checked for a proper seal.
The OE rubber seals are transferred to the side inlets and you have the passenger side trumpets still on the plenum.
Step 1: fit the driver side ITB bosses directly on the engine.
This is where it starts getting weird. Notice the holes on top of the rubber bosses? You have to trust the process.

The Genuine BMW clamps are tighten directly on the engine, prior to the plenum install.

Bolt the lower clamps too.

It's weird, but it works.

Step 2: snug fit the plenum on the passenger side.
Focus on getting the passenger side fitted snug. Don't bolt the lower clamps yet on the passenger side.
Notice the driver side alignment is slightly off, don't worry about it just yet.

Step 3: plug in all hoses.
You want to do this now prior to bolting everything down as you need some wiggle room to plug these hoses. If you forget to plug in one, you'll hate yourself.
2x at the back.
These are the crankcase ventilation hoses. Idling issues and misfires await if you forget these.
Notice my passenger side hose is sort of busted - but it still works.

2x at the front.
Oil return hoses.

2x per corners by the firewall.
These hoses recirculate oil as well.

Don't forget to check the internal oil hoses. These are pre-assembled by Sal but I have seen cases on customs ungluing them off the plenum.

Step 4: align the driver side, and bolt the trumpets!
It's time to call a friend, you'll need 2x pairs of hands to fully fit this. One of you needs to muscle the plenum into alignment while the other bolts in the trumpet closest to the firewall.

Once the first trumpet is bolted. it gets easier, and easier, and easier [...]

[...] until it's easy.

The rubber bosses form to the new plenum alignment and the subsequent re-installs are much easier.

*Double check all your bolts*

Step 5: bolt the lid and fit the intakes to the side inlets.
Apply a slight dab of blue loctite to the lid bolts. Recheck the lid and side inlet bolts after 100km.

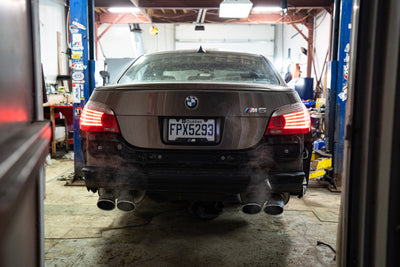
Step 6: re-assemble the auxiliary parts and go for a drive.
Don't forget the badges :)

Well, this was weird, but it works.
Up next: I chat driving impressions, tuning* and my unrelated previous mistakes that dragged this on.
Hopefully, I get to sound clips.

Leave a comment