Looking up, looking blue.

"In this Special Series, I document my complete paint & body restoration along with the exterior upgrades to CSL specifications.
In this entry, it's time to prime and sand, sand, sand, and [...] sand. It's where things start looking up, and start looking good."
-Matt
Foundation work.
A paint's primer is the equivalent to your home's foundation. If it's poorly done, you may not notice right away, but a world of hurt awaits you.
There are a myriad of primer options across the market. I'm adamant about using 2 component catalyzed primers. The primer is activated and hardened by the catalyst, creating a hard shell to seal and protect the bare metal. It establishes a solid base to start sanding from.
The Phoenix got masked before primer.

The shell's metal was looking great.

20 year old clips get busted - it'll happen a lot.

The shell sections below the shell lines were not fully stripped. The reasoning is this is out of sight, finish quality doesn't matter, as long as it's blue.

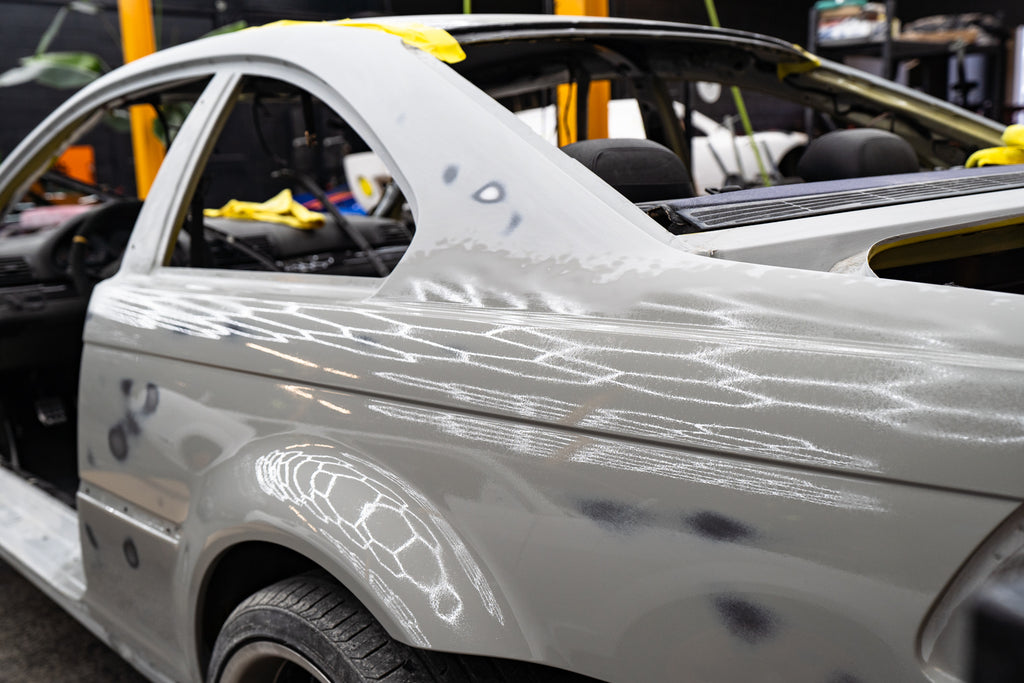
With the primer dried, it was time to get to sanding. This is another crucial part to the foundation work before color is sprayed.

Remember the rust spot? Bam, au revoir.
Block sanding it straight to good news!
By now, I'm hoping the level of attention to detail is showing through: block sanding sanding is another key step that is often skipped by body shops. It's hard and slow work.
Block sanding is literally that, using blocks of sanding paper, the manual sanding effort is spread across a larger surface that traditional rotary machine sanding. The goal is to get the body panels perfectly straight.
If you don't do this, you're playing catch up on top of the clear coat as you attempt to correct mistakes at wet sanding and polishing - it's putting lipstick and gloss on a turd.
This is everything to establishing the right base for a show level paint.

The hardened primer requires a 320 grit sand paper.

But wait, there's more
Sanding is hard, tedious, precision work - a lot of it is needed to get the shell ready for color.
The mark you're seeing here is faster a quick pass of block sanding to show off its effect.

You need to give it another pass afterwards with a higher grit paper to get it smoother for paint. We use the rotary at this stage.
[...] more hand sanding!
The E46 M3's classic lines need to be honoured with proper work. We use another form of block sanding on complex curvatures.
If this step is skipped, it's often how a resprayed car with look soft and lack sharpness around its signature edges.

Is it straight, really straight?
Once you start block sanding, it's where it keeps going down the rabbit hole, or you start looking up.
The spots you are seeing on the shell are areas of slight metal unevenness that we were able to get flat with the combination of hardened primer and block sanding.

Say no to bondo!
It's at this stage you'll know whether your car needs bondo or not. We sprayed final wash across the panels to get a gloss finish.
The LED light never lies with paint. Any unevenness will pop.

As we walked across the car, we realized The Phoenix didn't need a dab of it. I was relieved.

So you think sanding was finished? AH!
I previously documented the unboxing and installation CSL structural roof from Karbonius. I mentioned the clear coat outgassing issues leading to popping and imperfections.
It's where we start fixing it - sanding away Karbonius' clear to redo it entirely.

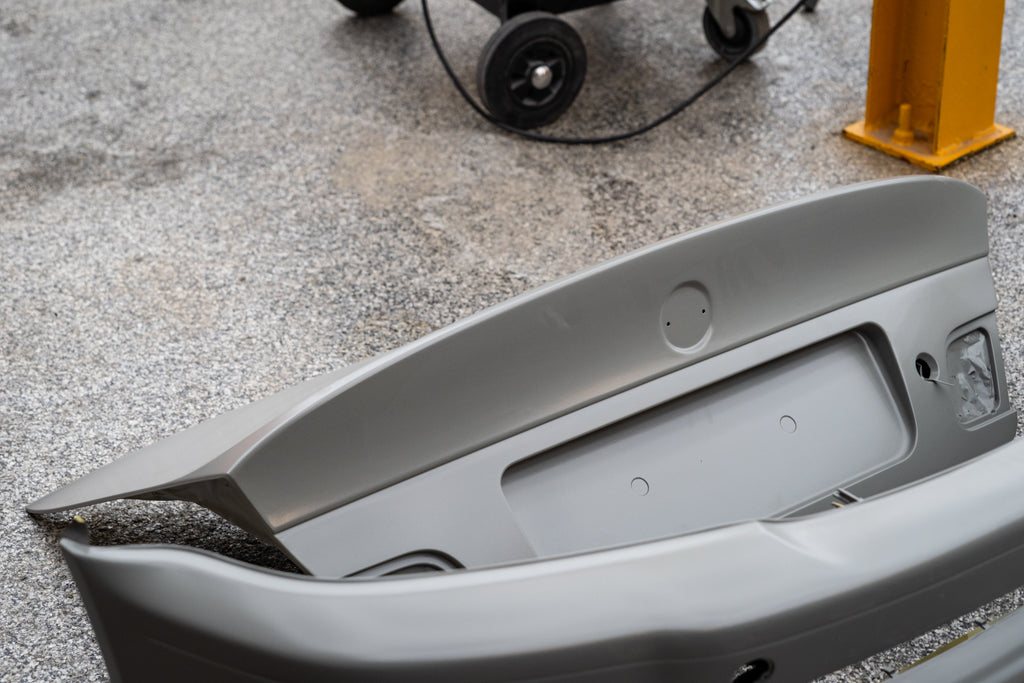
Every other body panel got matched.
We used the same primer and sanding techniques as on the shell to get an even match across the car.
The hood also got stripped down to bare metal and primer was applied.

All the body panels I received from Karbonius were gel coated, ready for paint. For most applications, it's enough - here, we want every single panel to match. We want perfection.


The CSL 1:1 Carbon diffuser was previously painted PY in Germany to document the color match service. It also needed to get sanded down and prepared for paint.

Things finally start looking up, they start looking blue.
Up next, the sanded down shell is back in the boot along with its parts.
San Marino gets sprayed.


