

Satisfaction (Part II)

"In this entry, I complete my DIY fitment of the V1 widened carbon fenders along with installation tips and my take on their usefulness."
- Matt
TL:DR
(CRTL C + CRTL V from Part 1)
My feelings about the fitment of the OEM+ CSL front end is translated in the title to this journal entry: I am satisfied, it's OEM level.

OEM+ Widened Fenders fitment notes.
Removing the OEM fenders.
This is somewhat of a PITA for a few reasons. The fender liner needs to come off - that in itself is pretty easy. I threaded the engine bay fender bolts. That took a trip to the shop to get fixed.
The issue is the OEM fender is made from metal with sharp edges. I didn't think about fitting cut-resistant gloves and kept the nitriles.
Once the liner is off, the fender is held by 2x bolts by the door. One is from the inside of the fender, the other is from the door opening.The other bolts are immediately visible. and easy to get to.
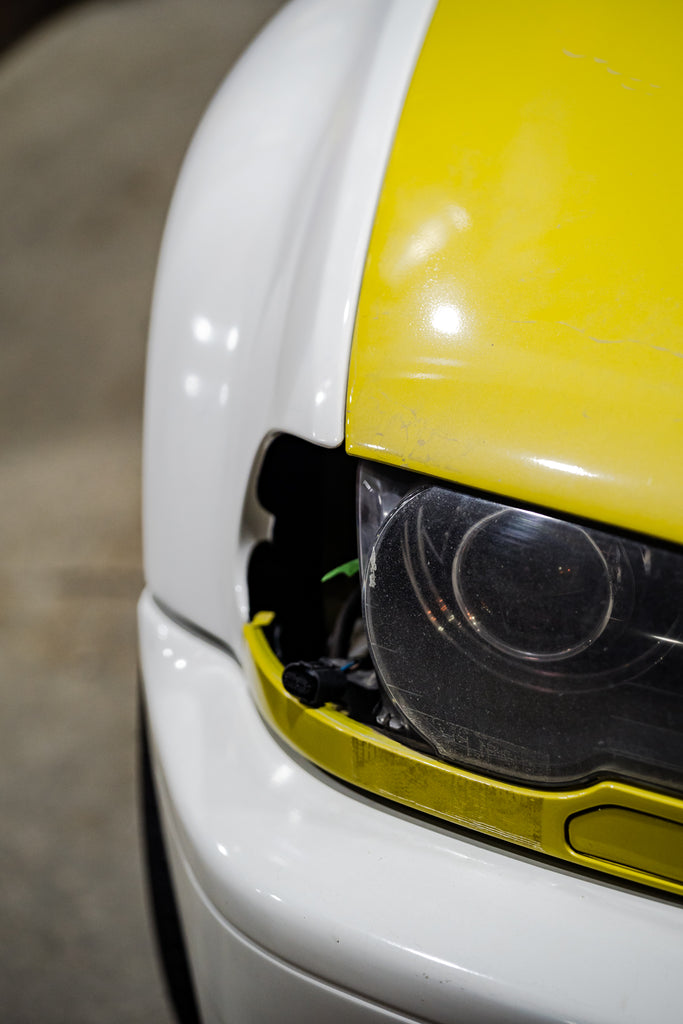
I recommend you remove the corners of the headlights to have easy access to the fender tab to un-clip it. Once you get the tab snapped into the bracket near the front bumper to fender corners, you're set to position the fender properly.
Reviewing the gaps.
Compared to the CSL bumper fitment, the fenders were a piece of cake to fit. There is a myriad of ways to adjust these to achieve proper fitment. The fenders' mold is solid and the gaps follow the OEM curvature. It's all a matter of alignment.
Panel gaps and misfitting aftermarket body panels trigger my OCD. I won't claim any accomplishments about getting OEM fitment with these: it was my expectation.
Hood gaps.
This need a few adjustments of the hood height with the rubbers by the front.

The front hood to fender corners are rounded off, just like OEM fenders.
The door gaps.
This is where most of the alignment work takes place. You adjust it with the bolts within the fender to the door and the door opening.


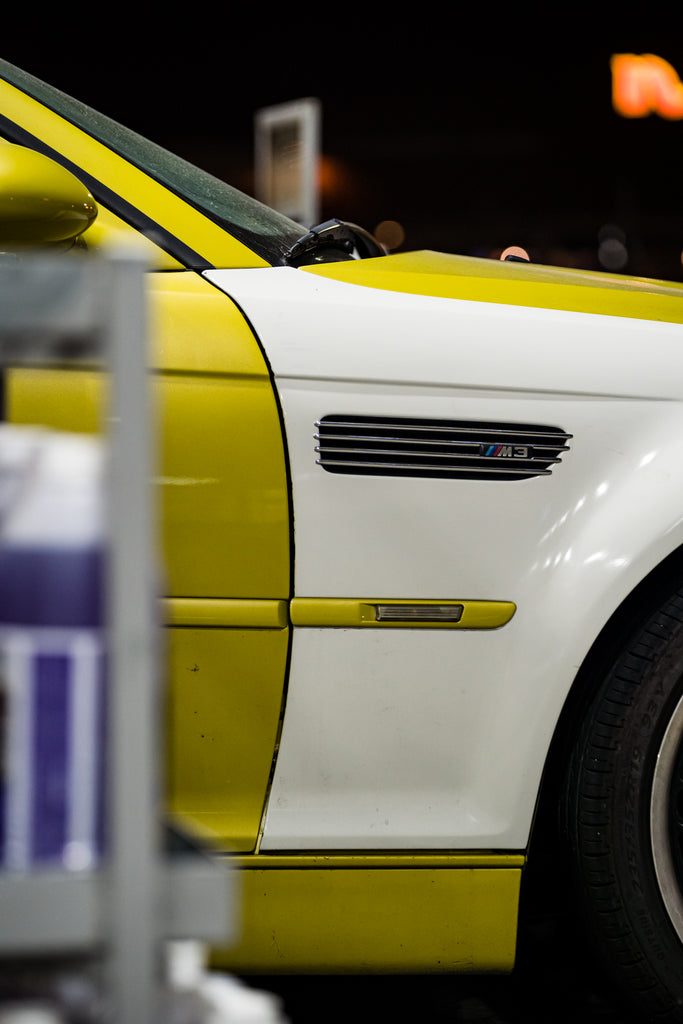
The side grills.
Easy as 1,2,3! The OEM grills is held by a few plastic tabs. They are easily transferred to the carbon fenders and fit snug without any gaps.

The side-flasher's trims.
This is where professional work will be required. As I documented in the CSL diffuser final review, my E46 M3 was shoddily resprayed.
The consequences of this is most evident on the side-flasher trims. The respray added considerable paint thickness to the trim.
This requires a tight fitment and it just doesn't work. We'll have to sand the trim down along with the fender's gel coat to get a proper fitment.
You can see the misalignment quite clearly below.
The liner question.
The fenders are purely wider at the top of the arch, leading to an un-noticeable gap.

The widened front to stock rear fender aesthetics.
From my vantage point, this was an overblown fear. Not only does it look good, I think the relative front & rear widths look better than stock fenders, and more aligned with aesthetics from modern M3 generations.
 Its younger brother shows why. The stock E92 M3 front fenders are much wider than the stock E46 front fenders as is evident below. I documented the wider range of E9x M3 OEM+ M359 fitment possibilities on my Stripper build journal.
The E92 front and rear match fender widths look much more aggressive than the stock E46 M3.
Its younger brother shows why. The stock E92 M3 front fenders are much wider than the stock E46 front fenders as is evident below. I documented the wider range of E9x M3 OEM+ M359 fitment possibilities on my Stripper build journal.
The E92 front and rear match fender widths look much more aggressive than the stock E46 M3.


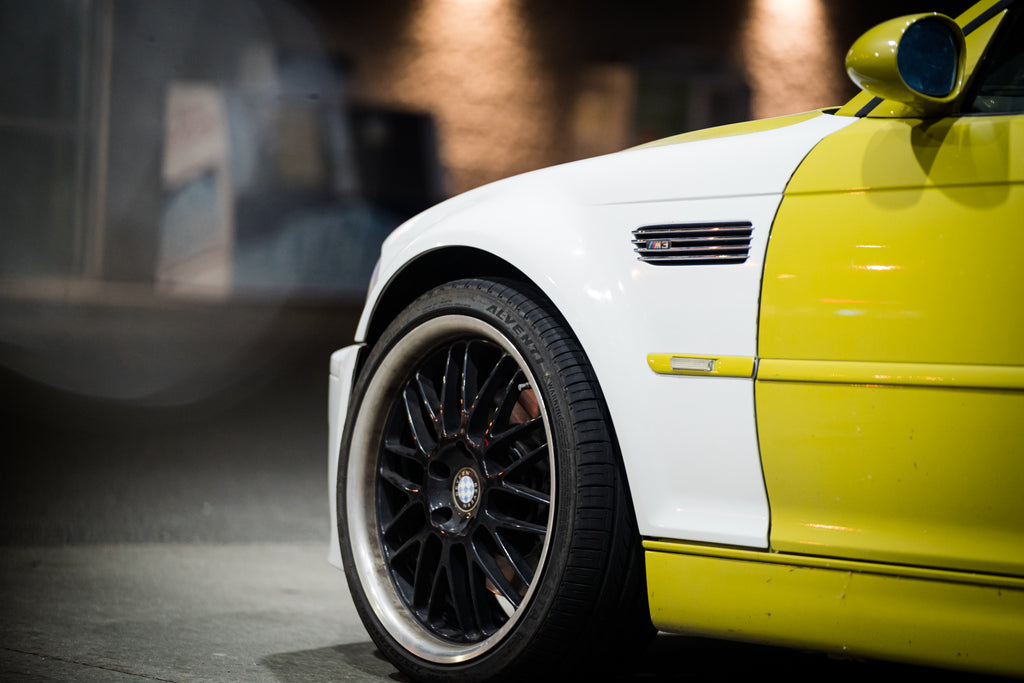
The usefulness of +10mm.
The extra 10mm at the top of the arch will potentially open up front wheel fitment with the following options.
You'll be able to run less camber specs on your current fitment for better street drivability while retaining margin to go lower, add spacers and negative camber for the track.
A more flexible dual-duty Clubsport fitment.
1. Plus (+) front track.
If your wheel & tire fitment is already dial'ed on OEM fenders, these give you the ability to immediately add a 10-12mm spacer for a wider track & stable front end.
I fitted ECS 12.5mm spacers on the same Bagdad Spec TSW wheels and stock alignment.
Don't let your liner hanging and please properly bolt it back by the side skirts unlike this DOOFUS.

2. Plus-Plus (++) front track.
Depending on spring & strut clearances, you could run a wider track, and a wider tire along with more aggressive camber spacers.
I will explore this potentially optimized fitment in my 2023 fitment experiments with OEM+ CSL forged wheels with a wider front wheel, wider tires and aftermarket coilovers & hybrid plates.
I expect the front tires to poke by the side skirts and front bumper a lot more than OEM as it retains OEM widths on the lower areas.
Paint protection film (PPF) on your fenders, doors, side skirts and front bumper will be a must unless this is a track car or you hate your paint :)
Up next: The series will be wrapped up for the year until the pros do it.
The Phoenix is off to paint & body restoration for the Winter and the pros finalize fitment to a T.
We'll revisit this next year.


