[drum roll] Ding, ding, we have a winner*!
![[drum roll] Ding, ding, we have a winner*!](http://euroconnex.co/cdn/shop/articles/DSC5032-2_{width}x.jpg?v=1667606867)
"In this Special Series, I document the complete development, fitment and ordering recommendations to the 1:1 CSL carbon diffuser.
This entry documents my DIY fitment, zoom'ed in fitment review and final recommendations."
-Matt
It's easy as 1,2,3 [...] wait!
I received my pre-production CSL diffuser by the end of June 2022. I previously documented the unboxing here.
The car unfortunately spent most of the Summer at the mechanic for a lot of grunt work as we undid a lot of the mishaps and errors of the previous owner. We faced many surprises along the way and supply delays on key parts.
I've often commented on the previous owner's shortcomings in properly maintaining this car - whether it was the state of decay of the interior or the poor mechanical condition of the car.
But wait, there's more. Few notice it at first glance, but once you see it, you know.
The car has been shoddily resprayed - it might as well be a first time DIY job. Nothing was removed, few things were taped, and what's polishing anyways? It's overspray city, flaking metropolis and orange peel day, everyday.
My initial issues with fitment on my former junkyard spec M3.
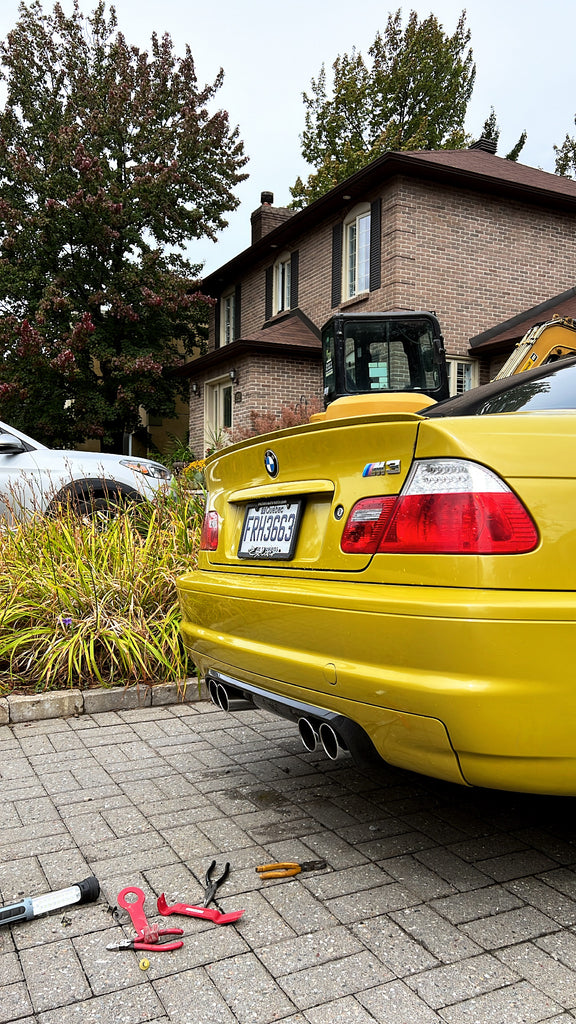
I test fitted the diffuser in September as I got the car back from the shop. The used push pins had overspray and a PITA to remove. I sourced new replacement units from the dealership.
The upper tabs section had noticeable overspray on edges of the kevlar carrier brackets.
This was to be expected and to slightly sand down the carbon tab itself. It took all but 5 minutes and it clipped in.
These cars are old and their history can be sketchy. If it's still OEM spec, this is a piece of cake.
I was able to initially fit the diffuser fine except the before last upper tab on the drive side. It simply wouldn't clip in.
You can sort of catch the slight bulge of the bumper to diffuser top line. This picture is before filling down the tab.
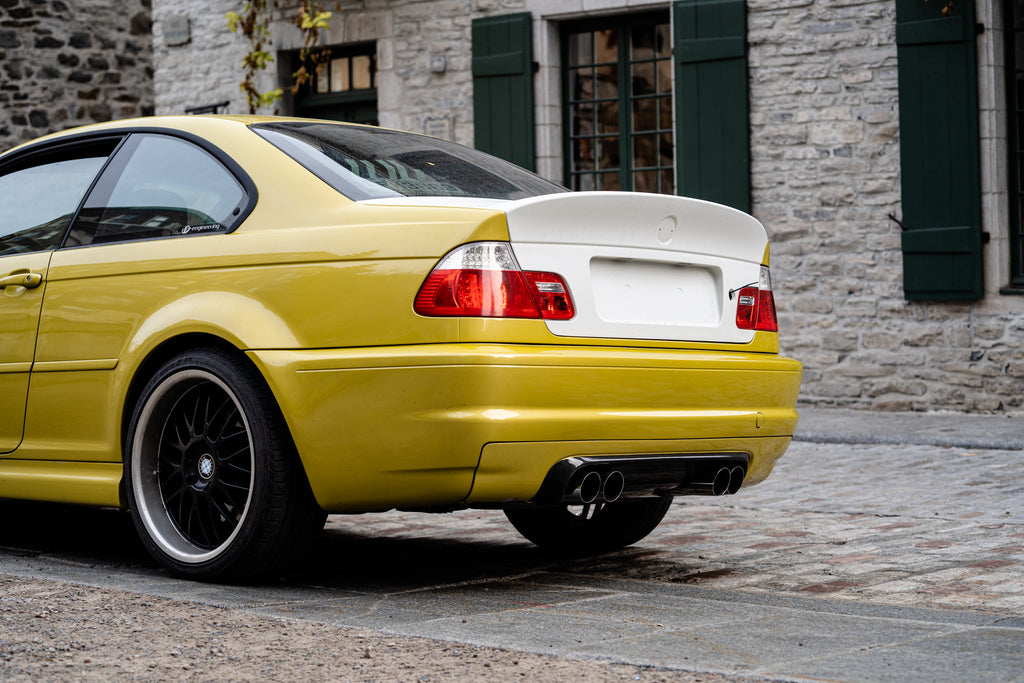
The diffuser top line is perfectly straight and matching.

The original M3 CSL's paint line is dictated by the ridge. The OEM paint line appeared notoriously further outwards on the top section of the carbon.

The same applies here, the top ridge paint line is like OEM. It looks goofy looking upwards, but I get why BMW did it that way when looking from above.


The upper corners of the diffuser are slightly rounded, just like OEM. This is more apparent on my Phoenix Yellow Metallic paint than the CSL's Steel Grey Metallic & Sapphire Black.

The CSL matching 1x1 carbon work is mint.

The passenger side was an easy fitment. It's immediately noticeable by the curvature of the indent on the center that lines up perfectly with the rear bumper line.

The lower corners are adjustable.
My driver side is where I initially had fitment issues and it wasn't completely fixed: push somewhere, it pulls elsewhere.
Luckily, the lower corners use pins pushed into a slotted bracket that allows for adjustment inwards.
I haven't adjusted these since filing down the upper tab. We'll need to further adjust the upper tabs as well to push the diffuser inwards a bit more.
This will require rear bumper disassembly to reach the kevlar carrier plastic brackets.

The diffuser's paint is what my paint should be.
The properly wet sanded & polished diffuser has a much higher gloss level. It allows far more light to reflect off PY's metallic which lightens the color in direct sun light.
I knew this.
I ordered the paint match to document this knowing full well we would re-do the diffuser with the upcoming complete paint & body restoration.
I previously stated my opinion about the color match service in my unboxing impressions.
My opinion hasn't changed.
If you are OCD, and know your car has been in an accident, resprayed or had aftermarket diffusers previously fitted, get the primer'ed version.
Don't bother with DIY and drop this off at a body shop for paint & fitment.If what you see here meets your goals (and your car wasn't due for the junkyard), get the color match option.
It's less expensive, looks great, and is easily fitted.
