

When the pros do it.

"In this entry, the professionals get to work on fitment of the V1 widened carbon fenders."
-Matt
A refresher.
In the previous entry I provided my DIY fitment feedback and overall impressions. It wasn't perfect due to the previous owner's cheap respray.
The consequences of this was most evident on the side-flasher trims. The respray added considerable paint thickness to the trim.
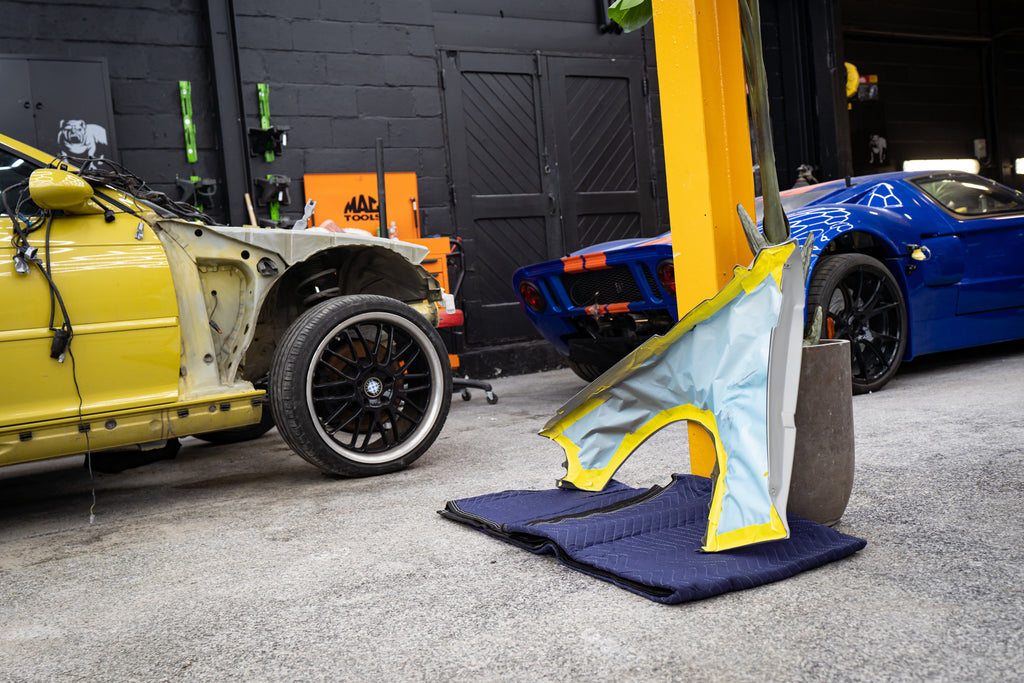
October 2022: my quick DIY fitment before storage.

The hypothesis.
The previous shoddy respray was done without sanding the paint down to metal - not even primer. All trims and panels were kept on the car.
In essence, it was a clear-coat spot repair: the cheapest paint job of them all, across the entire car. The respray added thickness across all gaps, causing fitment issues.
Still, I believed [...] after many years in body shops, I've gotten to know perfection when I see it out of the box. Six of you trusted my word and ordered the fenders during the limited introduction special. Thanks for the vote of confidence!
But, first, more primer.
The fenders come delivered in a white gel coat primer that is deemed ready to spray. Considering we're doing a complete color change on the E46 M3, we sanded it down and straight from a base Jonathan has experience it.
The fenders got meatier with a darker coat of primer.

Beefy!

The inner carbon work being visible, we couldn't let overspray mess it up. Tape, paper, patience, more tape.
We briefly fitted the fenders without the side trims installed. The goal was to display what made the side trims fitment weird: the side trims themselves!

Look for the tape alignment with the body lines.

OEM, across all gaps and alignment.

We got to this fitment purely holding the fender with painters' tape, indicating there is a lot of wiggle room to get these adjustment perfectly when bolting it down.

The meatiness potential is real.

Convinced? Some will be. Others will still doubt. I understand: paint & body is a world on its own.
I'll loop back on the panel fitment notes once it's painted and bolted to explore the new wheel & tire fitment options.


